Make Blankets for Dogs and Cats
When a dog or cat is adopted from A.R.F., we send them home with a blanket of their very own. The blanket provides a comfortable bed and something that will always smell familiar, which provides comfort in times of stress.
These blankets are made by volunteers. If you are a community-focused group looking for a service project and would like to make blankets for A.R.F. animals, please contact us so we can arrange for pick up or drop off.
Below are instructions for how to make adoption blankets. These instructions are for a more durable “cut and pull” method of making blankets. If your group would like to the the easier-for-kids tie method, we’d still love to accept your generous donations! Your cut dimensions might be slightly different due to the longer fringe length.
No-Tie Fleece Adoption Blankets
Instructions written by A.R.F. volunteer Marylou
Blanket Materials and Supplies
- Two different designs of ~58″ fleece fabric—one solid and one pattern, two patterns, or whatever you like! Wash before starting work.
- 1 yard for cat blankets and small dog blankets (makes two blankets 36″ x 28″)
- 1 ⅓ yard for medium dog blanket (makes one blanket 48″ x 48″ + leftovers)
- 1 ⅔ yard for large dog blanket (makes one blanket ~60″ x 60″)
- Yardstick (preferred), measuring tape, or ruler
- Masking tape (optional)
- Sharp scissors
- Utility knife or Xacto Knife-like blade
Instructions
1. Begin with your fabric—two different patterns of fleece. Cut each fabric depending on the desired size of the finished blanket:
- Cat blankets and small dog blankets: cut lengthwise so that you have two approximately 36” x 28” pieces of each.
- Medium dog blankets: make one cut lengthwise in each fabric so you have a piece that is 48″ x 48″ and one leftover smaller piece. Discard smaller piece or make other fleece dog toys or fleece cat toys from it!
- Large dog blankets: cut off selvedge (edges of fabric with a different texture and printed wording), no other cuts needed (except fringe).
Pin one piece of each pattern together, back side to back side. Then, trim all edges evenly to remove selvedge (edges of fabric with a different texture and printed wording) if needed.
2. Measure 3 inches in from each corner and use masking tape to mark the corners. Your tape should outline a 3-inch square in each of the four blanket corners.
3. Make sure that the space between the masking taped corners contains EVEN inches (no partial inches). You can move the tape SLIGHTLY to make small adjustments or trim the fleece for larger adjustments.
Make sure that there are the same number of inches on sides that are opposite each other.
For measurements, I use a strip of non-woven interfacing that I have marked in inches and half inches. You can use a yardstick, measuring tape, or ruler.
4. Cut out the corner squares and remove tape.
5. Next, arrange ruler or marked interfacing across the blanket, even with the parallel corner cut. Cut fringe UP TO the interfacing at the one-inch marks. Fringe cuts go up to (not into) the interfacing strip. Repeat for each side of the blanket.
6. Cut a slit in each fringe at the one-half-inch mark on your ruler, parallel to the other cuts. Cut a 1/2 inch slit starting AT the ruler going down into the fringe. Repeat for each piece of fringe going around the blanket.
It is best to start with a smaller slit in the beginning (about 1/2 an inch) until you get the feel for it. However, you can always increase the length of the slit afterwards if needed. You want a snug fit so that the fringe doesn’t come undone, but it should not be difficult to fit the fringe through the slit.
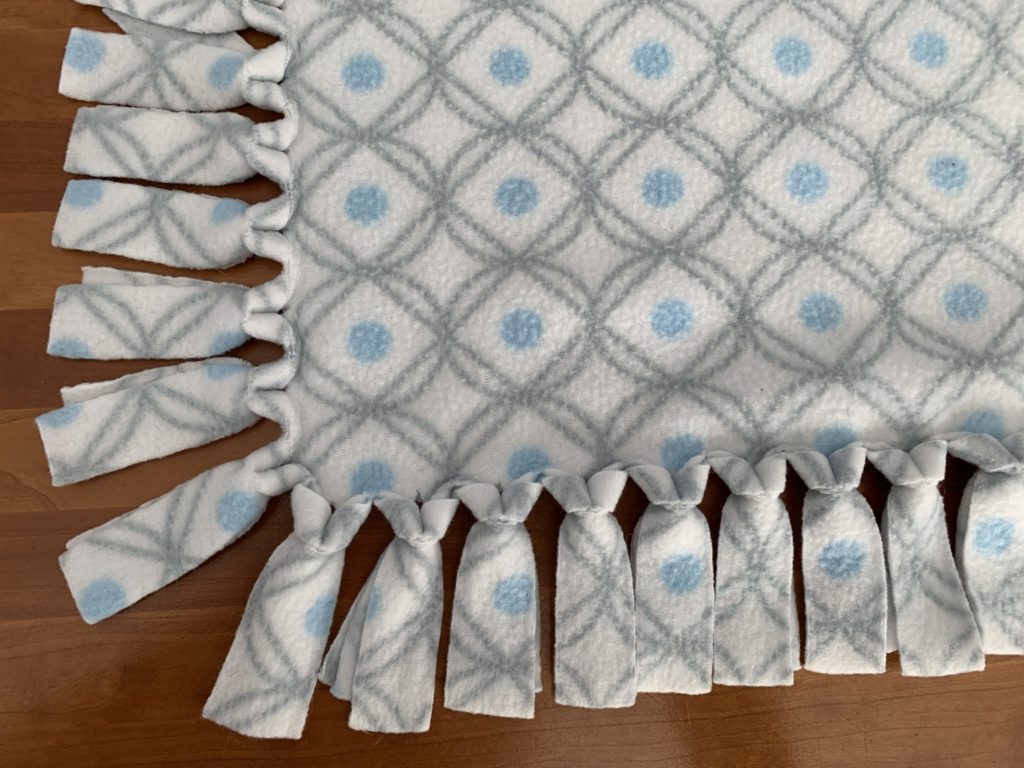
7. Next, fold the bottom edges of the fringe to make it easier to insert into the slit. Insert the bottom edge through the slit and gently pull all the way through. Do not pull hard on the fringe. It will “lock” with gentle tugging and smoothing. Pulling hard will stretch the fleece.
8. Your fringe should now look like this, with the contrasting color showing through on the front. Repeat step 7 around the entire blanket.
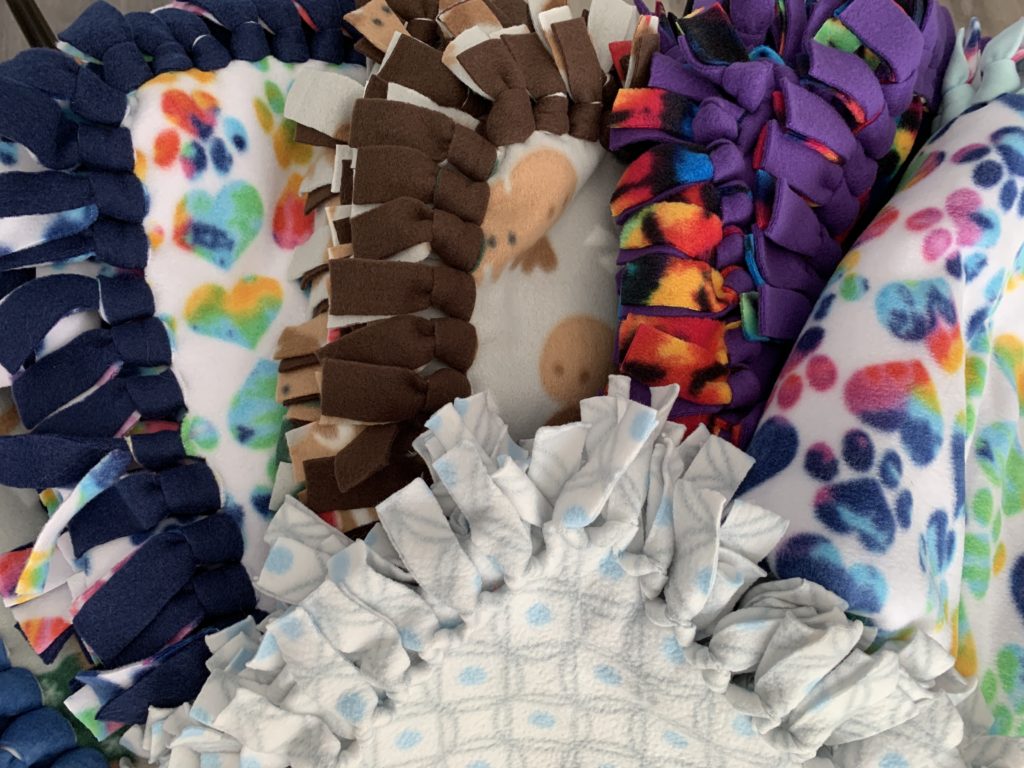
Your blanket is now complete! It will look something like this:
Bonus Adoption Blankets Project
Lastly, if you have a sewing machine, sew the corner squares from step 4 into a patchwork blanket and bind with a bias-cut strip of flannel or fleece. Thank you to volunteer Sally for the great idea!